Docker - building
Packages for image building
Depending on the underlying OS, there are different ways to build images.
Know your base system and their packages. Popular ones:
Conda: Conda-forge, Bioconda, etc.
Update and upgrade packages
On Ubuntu/Debian:
apt-get update && apt-get upgrade -y
On RedHat compatible systems (CentOS, AlmaLinux, RockyLinux):
yum check-update && yum update -y
Search and install packages
On Ubuntu:
apt search libxml2
apt install -y libxml2-dev
On RedHat compatible systems:
yum search libxml2
yum install -y libxml2-devel.x86_64
Note
The -y option that we set for updating and for installing.
It is an important option in the context of Docker: it means that you answer yes to all questions regarding installation.
Building recipes
All commands should be saved in a text file, named by default Dockerfile.
Basic instructions
Each row in the recipe corresponds to a layer of the final image.
FROM: parent image. Typically, an operating system. The base layer.
FROM ubuntu:22.04
RUN: the command to execute inside the image filesystem.
Think about it this way: every RUN line is essentially what you would run to install programs on a freshly installed Ubuntu OS.
RUN apt install wget
A basic recipe:
FROM ubuntu:22.04

RUN apt update && apt -y upgrade
RUN apt install -y wget
docker build
Implicitly looks for a Dockerfile file in the current directory:
docker build .
Same as:
docker build --file Dockerfile .
Syntax: --file / -f
. stands for the context (in this case, current directory) of the build process. This makes sense if copying files from filesystem, for instance.
You can define a specific name for the image during the build process.
Syntax: -t imagename:tag. If not defined `:tag` default is latest.
docker build -t myubuntu .
# Same as:
docker build -t myubuntu:latest .
Warning
Avoid contexts (directories) over-populated with files (even if not actually used in the recipe).
In order to avoid that some directories or files are inspected or included (e.g, with COPY command in Dockerfile), you can use .dockerignore file to specify which paths should be avoided. More information at: https://codefresh.io/docker-tutorial/not-ignore-dockerignore-2/
The last line of installation should be Successfully built …: then you are good to go.
Check with docker images that you see the newly built image in the list…
Then let’s check the ID of the image and run it!
docker images

docker run f9f41698e2f8
docker run myubuntu
More instructions
WORKDIR: all subsequent actions will be executed in that working directory
WORKDIR /root
ADD, COPY: add files to the image filesystem
Difference between ADD and COPY explained here and here
COPY: lets you copy a local file or directory from your host (the machine from which you are building the image)
ADD: same, but ADD works also for URLs, and for .tar archives that will be automatically extracted upon being copied.
If we have a file, let’s say `example.jpg`, we can copy it.
# COPY source destination
COPY example.jpg .
A more sophisticated case:
FROM ubuntu:22.04

RUN apt update && apt -y upgrade
RUN apt install -y wget

RUN mkdir -p /data

WORKDIR /data

COPY example.jpg .
CMD, ENTRYPOINT: command to execute when generated container starts
The ENTRYPOINT specifies a command that will always be executed when the container starts. The CMD specifies arguments that will be fed to the ENTRYPOINT
In the example below, when the container is run without an argument, it will execute echo "hello world".
If it is run with the argument hello moon it will execute echo "hello moon"
FROM ubuntu:22.04
ENTRYPOINT ["/bin/echo"]
CMD ["hello world"]
A more complex recipe (save it in a text file named Dockerfile):
FROM ubuntu:22.04

RUN mkdir -p /downloads
WORKDIR /downloads

RUN apt-get update && apt-get -y upgrade
RUN apt-get install -y wget

ENTRYPOINT ["/usr/bin/wget"]
CMD ["https://upload.wikimedia.org/wikipedia/commons/7/77/Blue_Whale_Cartoon.jpg"]
# Modify f9f41698e2f8 with the image you get from `docker images`
docker run f9f41698e2f8 https://upload.wikimedia.org/wikipedia/commons/c/c7/Whale_Shark_AdF.jpg
Try with volumes!
Try the recipe above mounting downloads directory as a volume.
ENV, ARG: run and build environment variables
Difference between ARG and ENV explained here.
ARG values: available only while the image is built.
ENV values: available during the image build process and for future running containers.
It can be checked in a resulting running container by running
env.
FROM ubuntu:22.04

# Define a build-time variable
ARG BUILD_VERSION=1.0

# Set an environment variable (available at build and run time)
ENV APP_ENV=production

# Use ARG in a build step
RUN echo "Build version is $BUILD_VERSION" > /build_version.txt

# Use ENV in a build step
RUN echo "App environment is $APP_ENV" > /app_env.txt

CMD ["bash"]
Build with:
docker build --build-arg BUILD_VERSION=2.5 -t env-arg-example .
Run and check environment:
docker run --rm env-arg-example env
APP_ENVwill be visible in the running container.BUILD_VERSIONis only available during build steps.
Docker build exercise
Random numbers
Copy the following short bash script in a file called random_numbers.bash.
#!/usr/bin/bash
seq 1 1000 | shuf | head -$1
This script outputs random integers from 1 to 1000: the number of integers selected is given as the first argument.
Write a recipe for an image:
Based on
almalinux:9That will execute this script (with bash) when it is run, giving it 2 as a default argument (i.e. outputs 2 random integers): the default can be changed as the image is run.
Build the image.
Start a container with the default argument, then try it with another argument.
Suggested solution
FROM almalinux:9

# Copy script from host to image - we place in a typical directory
COPY random_numbers.bash /usr/local/bin/random_numbers

# Make script executable
RUN chmod +x /usr/local/bin/random_numbers

# As the container starts, "random_numbers.bash" is run
ENTRYPOINT ["/usr/local/bin/random_numbers"]

# default argument (that can be changed on the command line)
CMD ["2"]
Build and run:
docker build -f Dockerfile_RN -t random_numbers .
docker run random_numbers
docker run random_numbers 10
See also
You can create Conda-based Docker images as well by providing your custom environment.yml
Dockerfile
FROM mambaorg/micromamba:2.5
COPY --chown=$MAMBA_USER:$MAMBA_USER environment.yml /tmp/env.yaml
RUN micromamba install -y -n base -f /tmp/env.yaml && \
    micromamba clean --all --yes
RUN rm /tmp/env.yaml
ENV PATH=/opt/conda/bin:$PATH
environment.yml
name: base
channels:
  - conda-forge
dependencies:
  - python=3.10
  - numpy
  - matplotlib
  - scikit-learn
See also
Seqera, the company behind Nextflow, also provides a service of containers on demand based on Conda and Python packages.
Specify a default user
Instead of using root, this can be convenient for security issues. It can be an already existing one (check the distribution) or you can create one.
FROM ubuntu:24.04
RUN useradd -m myuser
USER myuser
WORKDIR /home/myuser
docker tag
To tag a local image with ID “e23aaea5dff1” into the “ubuntu_wget” image name repository with version “1.0”:
docker tag e23aaea5dff1 ubuntu_wget:1.0
docker push
We upload our built container image into a registry. This way we can share among different users. Default is Docker Hub, but we can use other ones as well.
As an example, we are going to use GitLab Registry. We can use for sharing images to be used with the cluster.
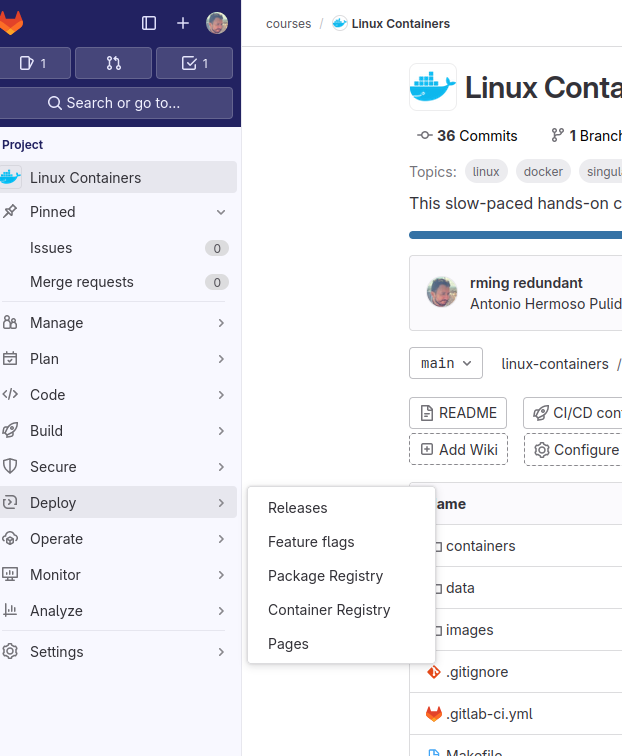
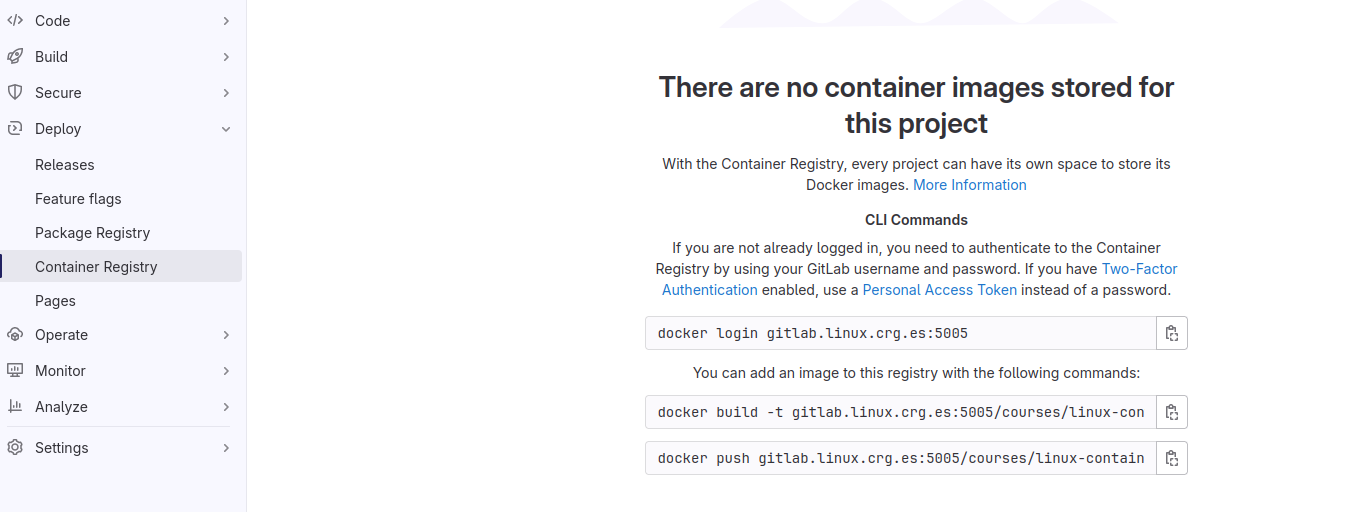
We create a project on GitLab, and then we can use the GitLab Registry.
docker login gitlab.hpc.crg.es:5005

docker build -t gitlab.hpc.crg.es:5005/myusername/myproject -f Dockerfile .

docker push gitlab.hpc.crg.es:5005/myusername/myproject
Tip
GitHub also provides its own container registry. You can associate the resulting Docker image to its original code repository, for instance.
Additional docker commands
docker (image) inspect: Provide details of the running container or metadata about the imageOpen Container Specs labels: https://specs.opencontainers.org/image-spec/annotations/
LABEL tag: https://docs.docker.com/engine/reference/builder/#label
docker commit: Turn a container into an imagedocker save: Save an image to a tar archivedocker load: Load an image from a tar archivedocker export: Export a container’s filesystem as a tar archive (little used)docker import: Import the contents from a tarball to create a filesystem image (little used)
Recommend workflow: If necessary, commit a Docker container into an image and then save it into a tar archive that can be shared and loaded in another machine.
Major clean
Check used space
docker system df
Remove unused containers (and others) - DO WITH CARE
docker system prune
Remove ALL non-running containers, images, etc. - DO WITH MUCH MORE CARE!!!
docker system prune -a
Reference: https://www.digitalocean.com/community/tutorials/how-to-remove-docker-images-containers-and-volumes
Warning
We will use some of the created Docker images in the next Singularity lesson, so you might not want to remove them now!
Warning
In $HOME/.docker directory, normally in $HOME/.docker/config.json, you can find the credentials we stored for the remote registry. We can remove that file as well at the end of the course.